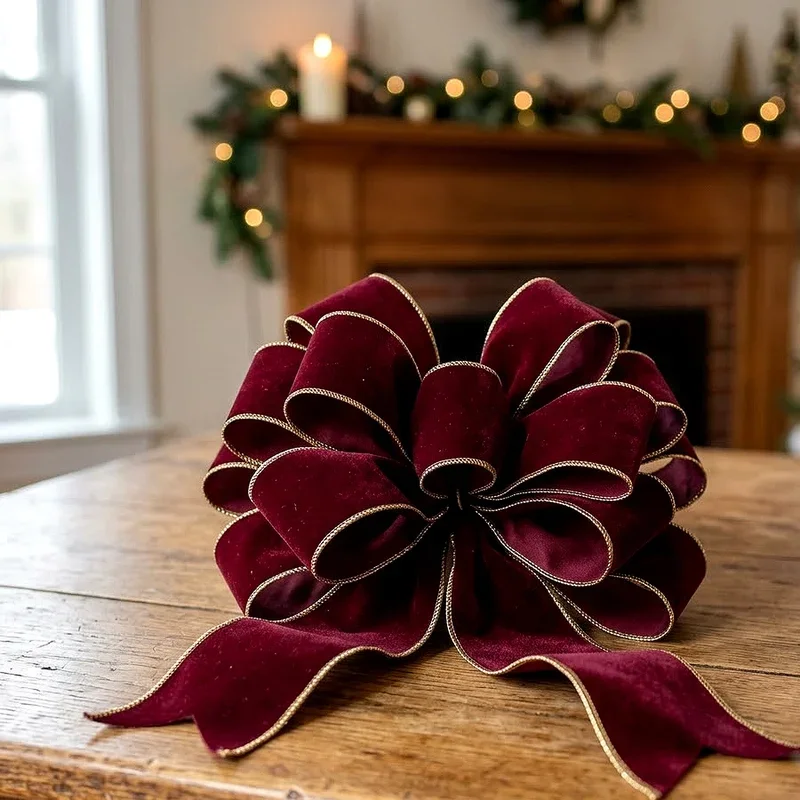
Learn how to make a gift bow with wired ribbon step by step using easy techniques that create gorgeous, professional-looking bows every time.
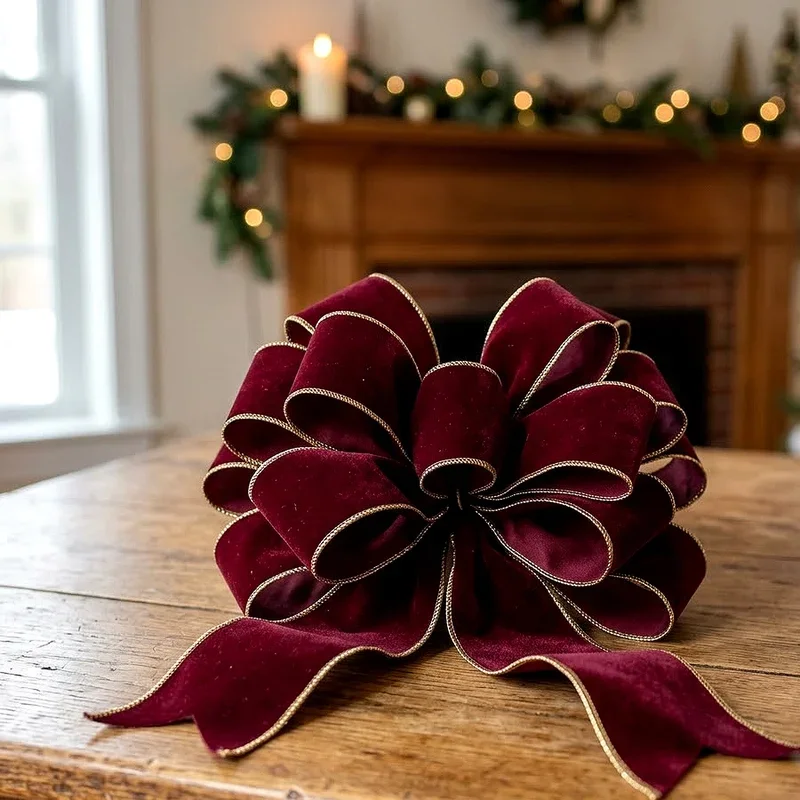
Let's be honest for a second. You could buy a stick-on bow from the dollar store, slap it on a gift, and call it a day. But where is the fun in that? There is something deeply satisfying about crafting a bow by hand, watching a flat strip of ribbon transform into a fluffy, eye-catching topper that makes any present look like it came straight from a boutique. And once you learn how to make a gift bow with wired ribbon step by step, you will wonder why you ever settled for those flimsy, pre-made alternatives that lose their shape before the gift even reaches the party. Wired ribbon is, hands down, the best material for bow making.
Why Wired Ribbon Is Your Best Friend for Bow Making
If you have ever tried making a bow out of regular satin or grosgrain ribbon, you probably know the frustration. The loops flop over. The tails droop. The whole thing looks sad five minutes after you finish it. Wired ribbon solves all of those problems in one fell swoop.
The secret lies in those thin wires stitched into the edges. They act like a built-in skeleton for your bow, letting you bend, shape, and sculpt each loop until it looks exactly the way you want. Once you position a loop, it stays put. No flopping, no drooping, no drama. That is why professional gift wrappers and florists swear by the stuff.
You can find wired ribbon in practically every width, color, and pattern imaginable. From classic velvet and burlap to sparkly metallics and playful holiday prints, the options are endless. For most gift bows, a ribbon that is about two and a half inches wide works beautifully, but you can go narrower for small packages or wider for statement pieces.
Gathering Your Supplies Before You Start
Before you dive in, you will want to have everything within arm's reach. There is nothing worse than getting halfway through a bow and realizing your scissors are in another room. Here is what you will need:
A spool of wired ribbon, at least three to four yards long, depending on how full you want your bow. A good pair of sharp scissors for clean cuts. Floral wire or a thin pipe cleaner to secure the center of the bow. And optionally, a ruler or measuring tape if you are the precise type.
That is literally it. No fancy tools, no expensive gadgets, no craft degree required. Just a few simple items and a little patience, and you are good to go.
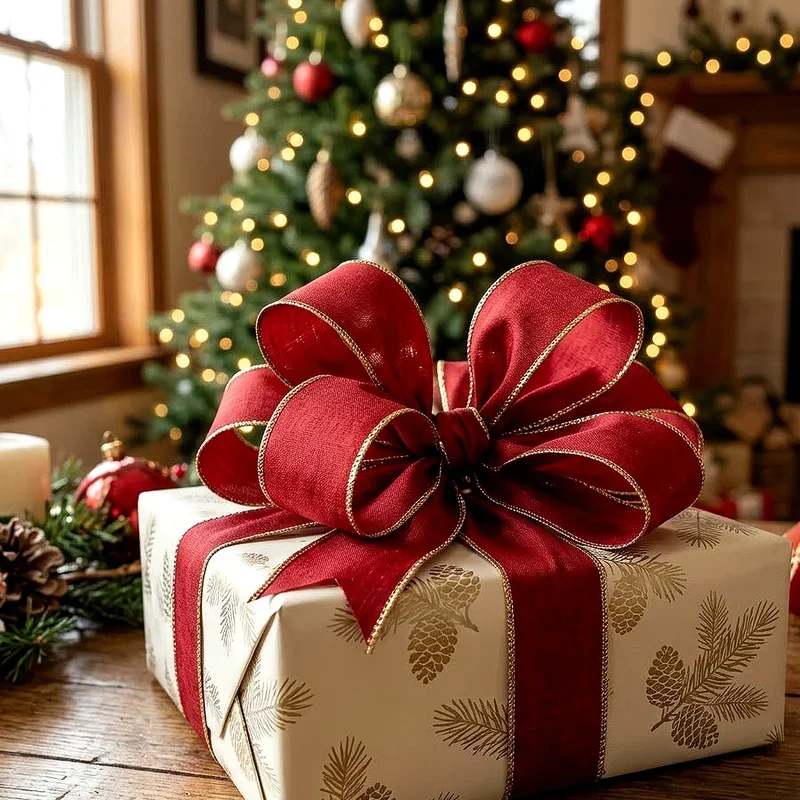
How to Make a Gift Bow With Wired Ribbon Step by Step
Alright, here is the moment you have been waiting for. Let's roll up our sleeves and get into the nitty-gritty of actually making this bow. Follow along carefully, and you will have a stunning bow in about ten minutes flat.
Starting With Your First Loop
Begin by unrolling a generous amount of ribbon from your spool, but do not cut it yet. You want to work from the spool so you do not run short. Hold the ribbon between your thumb and forefinger about six inches from the end. This six-inch tail will become one of the decorative tails of your finished bow.
Now, create your first loop by folding the ribbon back on itself. The size of this loop determines the overall size of your bow, so think about the gift you are decorating. For a medium-sized gift box, a loop that is about three to four inches long works nicely. Pinch the ribbon at the base of the loop between your fingers, keeping a firm grip. This pinch point is the center of your bow, and you will hold onto it throughout the entire process.
Building the Body of the Bow
Here comes the fun part. You are going to keep making loops, alternating sides, to build up the body of your bow. After your first loop, twist the ribbon a half turn at the center point and create a loop on the opposite side. This twist is crucial because it keeps the patterned or right side of the ribbon facing outward on every loop.
Continue this pattern. Loop, twist, loop, twist. Each time, pinch the center tightly so nothing slips loose. Most bows look gorgeous with about six to eight loops on each side, giving you a total of twelve to sixteen loops. But honestly, you can make as many or as few as you like. Want a dainty little bow? Four loops on each side might do the trick. Going for a big, show-stopping creation? Keep looping until you run out of ribbon or patience, whichever comes first.
One thing to keep in mind is consistency. Try to keep your loops roughly the same size. They do not need to be mathematically perfect, but keeping them in the same ballpark will give your finished bow a polished, balanced look.
Securing the Center
Once you have all your loops in place, it is time to lock everything down. This is where your floral wire or pipe cleaner comes in handy. While still holding all the loops tightly at the center, take your wire and wrap it around the pinch point several times. Twist the wire snugly at the back of the bow so it does not come undone. You want it tight enough to hold, but not so tight that it cuts through the ribbon.
If you are using a pipe cleaner, the process is the same. Just thread it through the center, wrap it around, and twist the ends together at the back. Pipe cleaners are actually a fantastic option because they are soft enough that they will not damage your ribbon, and the fuzzy texture grips nicely.
After securing, go ahead and cut the ribbon from the spool, leaving another six-inch tail to match the first one. Now you have got your basic bow shape, and it is time for the real magic.
Fluffing and Shaping Your Bow
This step is where your bow goes from looking like a squished accordion to a gorgeous, full creation. Starting with the innermost loops, gently pull each one outward and away from the center. Twist and rotate each loop slightly so they fan out in different directions. The wired edges make this incredibly easy because the loops will hold whatever position you put them in.
Work your way from the inside out, adjusting as you go. Do not be afraid to really get in there and maneuver things around. Pull some loops up, push others to the side, and fill in any gaps. The goal is to create a round, full shape that looks lush from every angle.
Take a step back every now and then to look at the overall shape. If one side looks a little sparse, tug a loop or two in that direction. If a loop is sticking up too high, push it down gently. This is an art, not a science, so trust your eye and go with what looks good to you.
Finishing the Tails
Now let's give those tails some love. You have two ribbon tails hanging from the bottom of your bow, and they deserve a little attention. First, trim them to your desired length. Some people like long, flowing tails that cascade down the side of a gift, while others prefer shorter, tidier ones. It is totally a matter of personal taste.
For a polished finish, cut the ends at an angle or create a notch by folding each tail in half lengthwise and cutting from the fold toward the edge at an angle. This creates that classic inverted V shape that looks crisp and intentional. A clean cut makes a world of difference, so use sharp scissors and take your time.
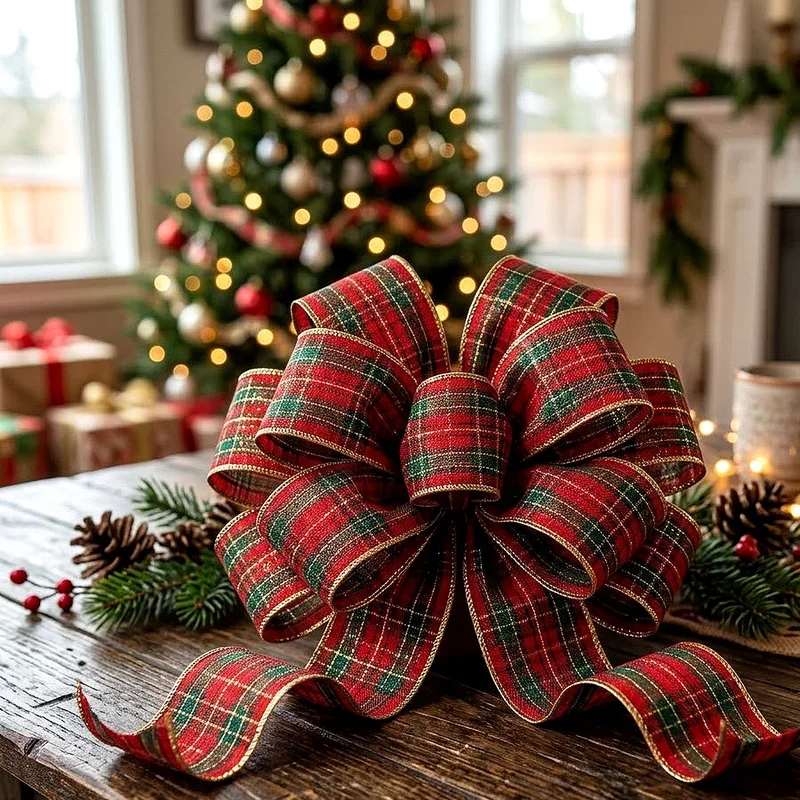
Tips and Tricks for a Professional Finish
Want to take your bow game to the next level? Here are some insider tips that can make all the difference.
First, if your ribbon has a printed pattern on only one side, that half-twist at the center between each loop is absolutely essential. Skipping it will leave some loops showing the plain back side, and that is a dead giveaway that the bow was homemade in a not-so-great way.
Second, do not be stingy with your ribbon. It is tempting to try and conserve, but a fuller bow always looks more impressive. If you are on the fence about adding more loops, go for it. You can always remove a loop, but a skimpy bow just looks underwhelming.
Third, consider layering different ribbons for a designer touch. Make a slightly smaller bow in a complementary pattern or color and stack it on top of your larger bow. Secure them together with the same piece of wire, and you have got yourself a double-layer bow that looks incredibly high-end.
Fourth, if you are attaching the bow to a gift, use double-sided tape or a small dot of hot glue to keep it in place. Nobody wants their beautiful bow sliding off the package during transport.
Common Mistakes to Watch Out For
Even seasoned crafters trip up sometimes, so do not feel bad if your first attempt is not gallery-worthy. Here are some common pitfalls to avoid.
Loose center wrapping is probably the number one issue. If your wire is not snug enough, the loops will start shifting and your bow will fall apart faster than a house of cards. When in doubt, add another twist of wire.
Uneven loops can also throw off the whole look. While perfection is not the goal, wildly different loop sizes will make your bow look lopsided. Take a breath, slow down, and try to keep things reasonably uniform.
Another common mistake is forgetting to twist the ribbon between loops. This leads to the back side of the ribbon showing on alternating loops, which looks messy and unfinished. That little half-twist only takes a second but makes a huge difference.
Creative Variations to Try
Once you have mastered the basic technique, the sky is the limit. You can experiment with all sorts of variations to keep things fresh and interesting.
Try making a bow with two different ribbons at once, holding them together as if they were one ribbon throughout the process. This creates a beautiful multicolor effect that looks way more complicated than it actually is.
You could also vary the loop sizes intentionally, making the inner loops smaller and the outer loops larger. This creates a more organic, flower-like shape that is absolutely stunning on wreaths and centerpieces.
For a rustic look, try using burlap wired ribbon and pairing it with a thinner satin ribbon layered on top. The contrast between the rough burlap and the smooth satin is just gorgeous and works perfectly for farmhouse-style decor or country weddings.
When to Use Your Handmade Bows
The beauty of knowing how to make a gift bow with wired ribbon step by step is that you will find yourself using this skill way more often than you might expect. Birthday gifts, holiday packages, baby shower presents, and wedding favors all look ten times better with a handmade bow on top.
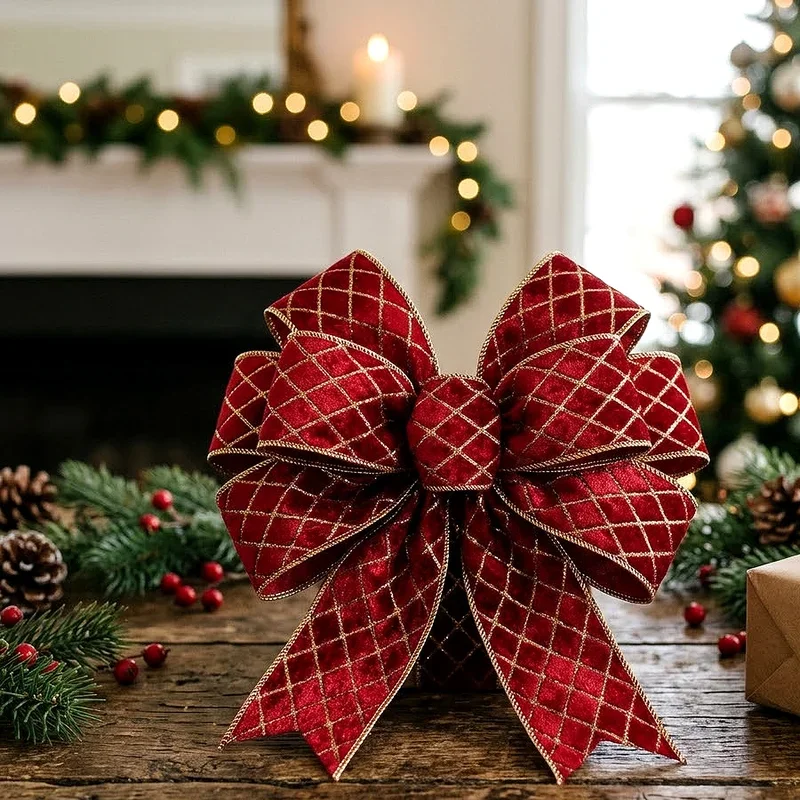
But do not stop at gift wrapping. These bows are perfect for wreaths, garlands, Christmas trees, pew decorations, centerpieces, and even chair backs at special events. Once you get comfortable with the technique, you can whip one up in just a few minutes, which means you will never have to settle for a boring, store-bought bow again.
Storing Your Bows for Future Use
If you have made a bow ahead of time or want to save one for reuse, proper storage is key. Place the bow gently in a large zip-top bag or a small box, stuffing tissue paper around it to help maintain its shape. Keep it somewhere cool and dry, away from direct sunlight, which can fade the colors over time.
When you are ready to use it again, simply take it out and reshape the loops with your fingers. Thanks to that trusty wired edge, the bow will perk right back up with minimal fussing.
Conclusion
Making a beautiful gift bow with wired ribbon is one of those simple crafts that delivers big results with very little effort. Once you get the hang of the loop-and-twist technique, you will find yourself creating stunning bows for every occasion without breaking a sweat. The wired edges make shaping a breeze, and the finished product always looks polished and professional. So next time you have a gift to wrap, skip the store-bought bow and make your own. Your presents will thank you for it, and so will everyone who receives them.
Read next: 15 Gift Wrap Ribbon Ideas for Beautiful Present Styling
Frequently Asked Questions
Q1. What width of wired ribbon works best for gift bows?
A: A width of two to two and a half inches works perfectly for most gift bows.
Q2. How much ribbon do I need to make one bow?
A: You will typically need about three to four yards of ribbon for a full bow.
Q3. Can I reuse a wired ribbon bow after unwrapping a gift?
A: Yes, simply reshape the loops with your fingers and the bow looks great again.
Q4. What can I use instead of floral wire to secure the bow?
A: Pipe cleaners, zip ties, or even a twist tie will work nicely as alternatives.
Q5. Is wired ribbon more expensive than regular ribbon?
A: It costs slightly more but the shape-holding ability makes it well worth the price.
Stay up to date with our latest ideas!